
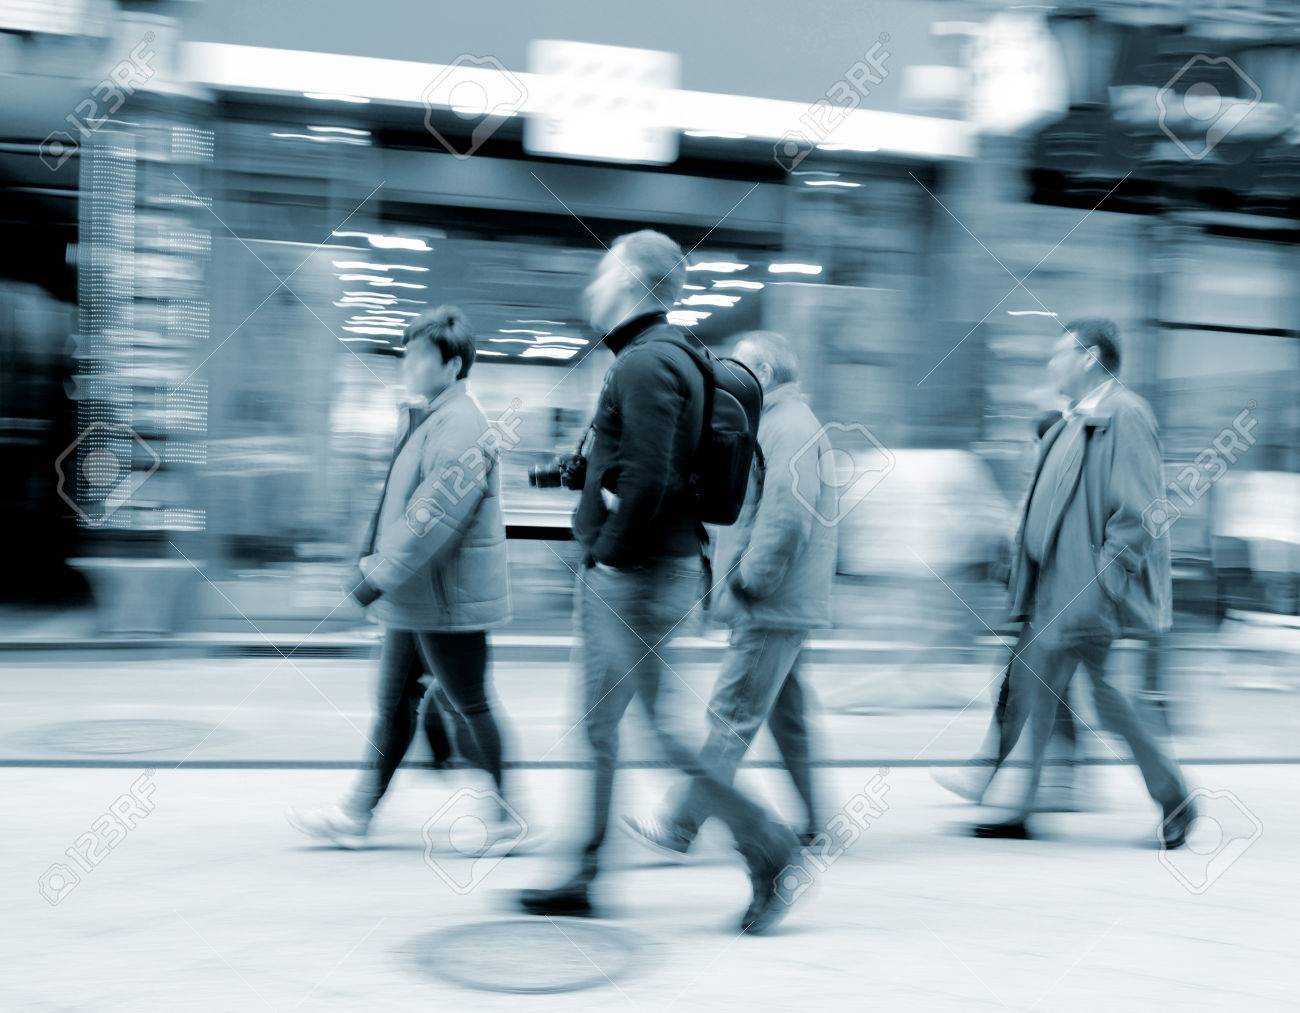
In filmography, the lead room is the empty space on the left side of the frame, in front of a moving object. The lead room creates a sense of movement and draws attention to the object. Some photographers might ignore this rule and instead focus on the subject in the room. Here are some examples. Each of these compositions has its own purpose. A lead room can be used in your photography to help you tell your story visually.
Headroom
What is headroom within a leadroom? Headroom is the area between your subject's top edge and the frame's top edge. If you have too much headroom, you'll end up with dead space. It is important to ensure your subject does not stand too close in front of the frame. If they do, this can lead to them looking up or out of it. Place your subject at least two-thirds distance from the edge of frame.
The space between the top edge of the frame (or the subject's head) and the top edge of the lead room is called the headroom. One rule of thumb to follow is to leave two-thirds empty of the frame so your subject can look outside of it. You can give your subject more headroom than you need. The right amount will make your subject look relaxed and comfortable in the shot.
Looking for a room?
The looking area, also known by the name "lead room", is the area that allows the viewer access to the subject and its surrounding. It is the area between the subject's back and front that will determine the emotional meaning of the image. A well-composed photo will allow for the subject to move and not be constrained by other elements. The subject will appear crushed if you crop a photo.
If you are photographing someone, ensure there is enough space for them to look. When framing a portrait, always leave 2/3 of the frame empty. This will give the subject the space they need to look out, but also preserves the feel of the composition. This is the "rule or thirds".
Gazing room
Star gazing rooms are a great place to learn about evolution. The Payne Family Native American Center in Missoula, on the University of Montana's campus is a great place for learning about the ancient traditions of Stargazing. A Star Gazing Show is held in this unique space, covering constellations, planets, as well as upcoming celestial events. The evolution of the universe, the legends surrounding stars, and the stars themselves will be explained to visitors.
FAQ
Is digital photography hard?
Digital photography is not as simple as it seems. You will need to spend time learning how to use these tools correctly. You must know the right settings for different types shots. The best way to learn is by doing. Practice makes perfect.
Do I Need A Tripod?
This is a question everyone asks. Although a tripod might not always be needed, they can be useful.
It allows you to hold your camera steady when taking pictures at slow shutter speeds. A tripod can make all the difference when you're photographing landscapes or other stationary subjects.
On the other hand, if you're photographing moving subjects such as sports or people, using a tripod can cause blurriness. How do you determine which situations need a tripod?
A tripod is useful for any situation where you want to photograph fast action or stationary subjects. Examples include:
-
Sports
-
People
-
Landscapes
-
Close-ups
-
Macro shots
If you're unsure whether you need a tripod, try this test. Take your camera and hold it still. Then, look through the scope. If blurred lines appear or you feel movement, you will definitely need a tripod.
A tripod won't make any difference if there is no blurring.
Here are some tips for those who do decide to buy a tripod.
-
You should ensure that your tripod has smooth legs. This helps to prevent vibrations from shaking the camera.
-
A tripod is a good choice. Some tripods can be made out of plastic but they are not very durable. Consider a tripod made of metal.
-
Consider purchasing a remote release. You can control your camera remotely with this remote release. This allows you to set the shutter to automatically fire when you press it.
-
Look for a tripod that has a 360-degree rotating head. This makes it much easier to position your cameras horizontally or vertically.
-
You should keep in mind that tripods don't come cheap. Expect to spend around $100-200. You'll still get a lot for your money.
-
Accessories such as filters and memory cards should be considered.
-
Check your local stores before buying online. Many retailers offer shipping free of charge.
-
Review a product to find out what other customers think.
-
Ask family members or friends to share similar products.
-
To learn more about customer experiences, you can visit forums and message board.
-
User reviews can be found online.
-
Amazon.com is a website that allows you to compare prices and get customer feedback.
-
Check out these photo galleries for an example of the work that photographers do with their tripods.
What camera is best for beginners and what are the pros and cons?
The best camera choice for beginners is determined by your budget, skills, and needs.
For example, if you're looking to save money, you might choose a point-and-shoot digital camera. These cameras are not very versatile but offer excellent quality.
Digital Single Lens Reflex (DSLR) cameras can be equipped with interchangeable lenses that enable you to shoot different types. They usually cost more than point-and-shoots but give you much greater flexibility.
For those new to photography, a beginner's kit is a great place to start. The package includes everything you need: a camera, lens, memory cards, tripod, flash and a camera body.
Do not forget to get extra batteries!
How can I become a professional photographer?
Photography is an art. It requires dedication, patience, dedication, and, above all, passion. If you love photography, you'll be doing better than if only you were going after the money.
You should learn how your camera works. You will need to know how to use your camera properly. A good understanding of Photoshop is also necessary.
Although photography is difficult, once you are proficient, it is rewarding to create images that capture moments in the moment that will never be forgotten.
You can improve your skills by reading books, attending classes, and participating in competitions. This way, you will gain experience and confidence, leading to improvement. What equipment is required?
It really depends on what kind of photography you like to do. A wide-angle lens is necessary for landscape photography.
A telephoto lens will be a must if you are interested in portrait photography.
When taking photos, a tripod is essential. You can stand back and compose the picture, without having to move.
Camera bags can be useful for carrying your camera and memory cards as well as other accessories.
If you have a compact digital camera, a flash unit will be necessary.
A DSLR (Digital Single Lens Reflex), camera is the best choice for novice photographers who wish to create professional-quality images.
DSLRs are very popular as they let you control all aspects of your photos, such as shutter speed, aperture and ISO sensitivity. A variety of features are available such as autofocus and auto-exposure locks, bracketing, self-timer, and RAW formatting.
How can I make my photos look beautiful?
You will look your best in photos if they are taken by you. You will learn how to pose, which angles are flattering and which are not. You'll also learn lighting techniques and how to use props to enhance natural beauty.
Learn how to select clothes that fit you well, what make-up looks good on you and what hairstyles best suit your style.
If you are not happy with your results, we will show you how you can retouch them using Photoshop and other editing tools.
You can now take self-portraits.
Statistics
- This article received 13 testimonials, and 100% of readers who voted found it helpful, earning it our reader-approved status. (wikihow.com)
- By March 2014, about 3 million were purchased monthly, about 30 percent of the peak sales total. (en.wikipedia.org)
- There are people out there who will pick at flaws they can only see in 100% crops of your photos. (wikihow.com)
- While I cannot prove that all of those spots were not sensor dust, the photo was taken during a heavy snowstorm…so I guess that 99.8% of the spots are snowflakes. (bhphotovideo.com)
External Links
How To
How to photograph in low light conditions
Low-light photography means taking photos in dimly lit areas. This requires special equipment and techniques. The main challenges are controlling exposure, white-balance, and sharpness. There are two types low-light photography: ambient and flash. Flash photography works best when there is enough lighting around. If there isn’t enough natural lighting, you will need to use a flash. A flash might be necessary if you are photographing a subject indoors and outside. A flash is not necessary if you aren't interested in shooting at night with the moonlit hours. You will get beautiful shadows and colors. Another option is taking photos at twilight. Twilight occurs when there is still daylight but the sun has set.
Long exposures are also an option. Long exposures allow you to record images after the shutter has been open for several minutes. If the shutter is closed, the camera records only the light that falls onto the sensor. This light will continue to fall onto your sensor after a long exposure. The shutter is still closed so no light can enter the lens. This means that you will not see any movement. You can ensure clear images by turning off automatic settings such as autofocus or autoexposure. Before you begin shooting, adjust your ISO setting. An ISO setting 200 gives you more control over how bright or dim your image appears. Next, click quickly on the shutter button to capture the shot. The shutter will close completely. Next, hold the shutter button down until the end. You can prevent any additional light entering your camera by holding the shutter button down. Once you have taken your picture, wait for a few moments before you release that shutter button. This allows your camera to process the picture. While your image processing is taking place, you will be able to view your photos on your screen. Once you are satisfied, save them on your computer.