If you love photographing sunsets, then you have come to the right place. These are some tips to help you capture beautiful sunsets. You will also be taught the rules of composition. Learn how to expose the photos correctly and how to use a delicate flash or reflector for more light. For the best weather conditions, it is important to check the forecast. Hopefully, you will find these tips useful. You can read on to learn more sunset photography.
Rules of composition
You need to be familiar with the basics of composition in photography to get the best sunset shots. These rules can either be very simple or extremely complex, but following them will allow you to create better photos. This article provides examples of great and bad photos to remind you to apply these rules and make your pictures stand out. So, start taking better sunset photographs!
The right exposure
Because of the wide dynamic range of the sky, it is essential to set the right exposure for sunset photography. Your camera's sensor can overexpose what is in front of it, resulting a black sky and dark shadows. To avoid this, shoot multiple exposures to get the right amount of brightness and contrast. There are many methods to achieve the ideal exposure without using a tripod.
Using a delicate flash or reflector
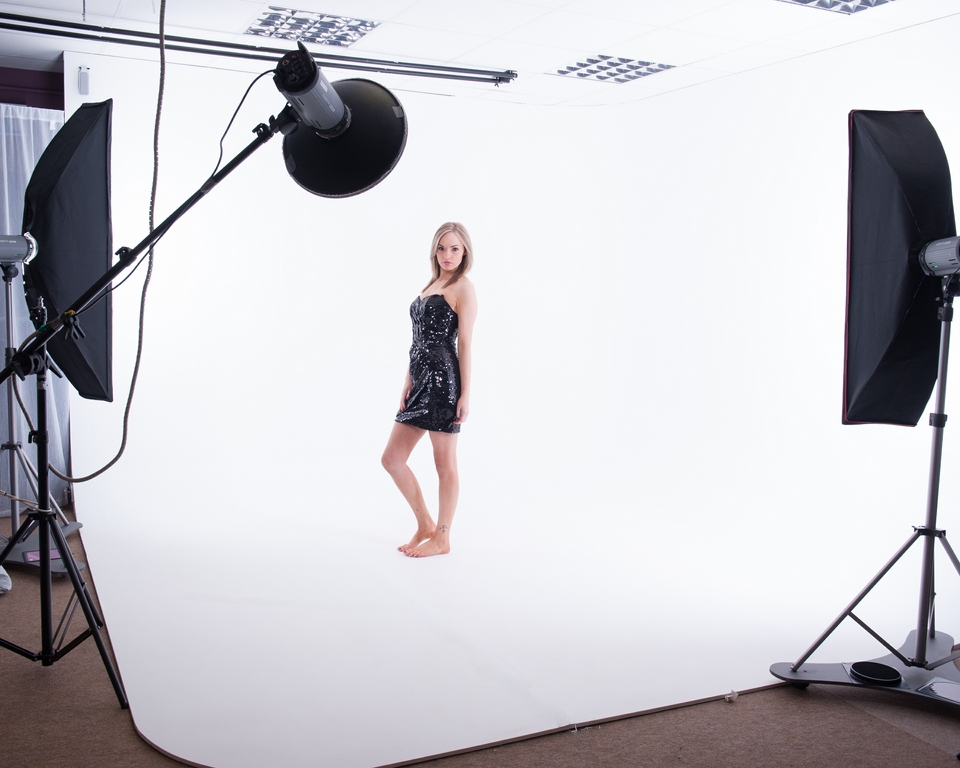
Before you can take photos of sunsets with a flash, it is important to consider your lighting options. A big flash will cause a strong glare to the subject. However, a small flash will make it appear much more subtle. A delicate flash or reflector will bounce light back up to the subject and create a soft fill effect. A beautiful sunset photo will result in both cases. Next, you can use the tripod to support it. A friend or assistant can help you to hold the reflector. Finally, fire up the camera.
Analyzing the weather forecast
For the best sunset photos, it is crucial to pick a date that suits you. It is important to ensure that you are able to take photos when the skies are clear and the colors rich. You need to be aware of a few things first. Clouds can be distracting. Clouds may not be able to create the desired colors but they can ruin the overall look of the photo. You should always check the weather forecast before you decide on a location to photograph sunsets.
Predicting the quality of the sunset
Most photographers enjoy taking pictures of sunsets. It is not a matter luck that you will capture a stunning sunset. You can do several things to increase your chances at capturing beautiful sunset photos. You must consider your environment. Clean and dry air will produce stunning sunset images. For the best views, mid-level clouds should cover between 25 and 60 percent of the evening skies.
FAQ
Do I Need A Tripod?
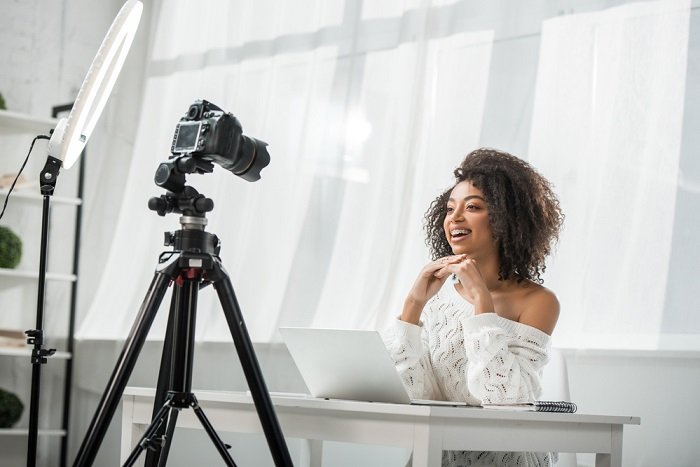
This is one of those questions that everyone asks. While a tripod isn’t necessary every time, it is useful.
A tripod allows you to stabilize your camera when taking photos at slow shutter speeds. A tripod can make all the difference when you're photographing landscapes or other stationary subjects.
A tripod can also cause blurriness when you are photographing people or sports. How do you decide which situations are best served by a tripod.
A tripod is useful in situations where you want to take pictures of fast action and stationary subjects. Examples include:
-
Sports
-
People
-
Landscapes
-
Close-ups
-
Macro shots
You can use this test to determine whether you need a tripod. Hold your camera still and look through the viewfinder. You will need a tripod if you see blurred lines and movement.
If you don’t see blurring, adding a tripod is unlikely to make any difference.
These tips will help you make the right decision about whether to invest in a tripod.
-
Smooth legs are a must for your tripod. This helps prevent vibrations that could shake your camera.
-
You should choose a sturdy tripod. Some tripods are made of plastic, so they may not be as durable. You should opt for a steel tripod.
-
Consider purchasing a remote release. This allows you to control your camera remotely. Once you press the button, it will automatically fire the shutter.
-
Try to find a tripod with a head that rotates 360 degrees. This makes it much easier to position your cameras horizontally or vertically.
-
Tripods are expensive. Expect to spend between $100 and $200. You will still get a lot out of your money.
-
Don't forget about accessories like filters and memory cards.
-
Before ordering online, you should check in your local shops. Many retailers offer free shipping.
-
Check out customer reviews to learn what they think about a product.
-
Ask family members or friends to share similar products.
-
To learn more about customer experiences, you can visit forums and message board.
-
Look online for user reviews.
-
Amazon.com is a website that allows you to compare prices and get customer feedback.
-
Check out these photo galleries for an example of the work that photographers do with their tripods.
Should I start photography as a hobby?
Photographing is a great way to preserve memories and share them among friends and family. It allows you to discover more about the world.
You can find many online resources to help you learn how to take better photographs.
You might also consider enrolling in classes at nearby community colleges or art schools. You can meet other photographers and get valuable feedback about your work.
What makes a good camera backpack?
Because it protects your equipment while you are traveling, choosing a camera backpack is crucial. Here are some factors to keep in mind when choosing a bag.
-
You should choose a large bag that can hold your accessories and camera comfortably. You shouldn't buy more than what you actually need.
-
Durability: Buy bags made of durable materials like canvas, nylon or leather. Avoid plastic or fabric bags.
-
Protection: Make sure your bag provides protection against dust, dirt, moisture, and scratches.
-
Organization: Consider organizing your gear by type to easily access your needs. You could, for example, place your lenses in one area, your memory card in another and your battery charge in yet another.
-
Comfort: Instead of carrying a bag, use a shoulder strap. You should also look for a design that is comfortable and has padded straps.
-
Price: Compare prices to get the best deal. Many brands offer their products at discounted prices. This can be a huge advantage.
-
Warranty: Make sure to ask if they offer a warranty for their products. This way, if anything happens to your bag, you know who to contact.
Statistics
- While I cannot prove that all of those spots were not sensor dust, the photo was taken during a heavy snowstorm…so I guess that 99.8% of the spots are snowflakes. (bhphotovideo.com)
- This article received 13 testimonials, and 100% of readers who voted found it helpful, earning it our reader-approved status. (wikihow.com)
- The second easiest way to get blurry photos 100% of the time is to use a cheap filter on the front of your lens. (photographylife.com)
- That's the easiest way to get blurry photos 100% of the time. (photographylife.com)
External Links
How To
Lightroom: How to Use It in Photography
Adobe Lightroom allows photographers to edit photos quickly and efficiently. It allows you upload your images to one place that can be viewed as well as edited, cropped, liten, and saved. They can be shared online, printed, or emailed.
Lightroom provides editing tools such cropping and adjusting brightness, contrast and color balance. Lightroom also has a collection of presets that makes it easy to apply common effects, such as vignette (lens distortion correction) and black &white conversion. These changes can be applied automatically when you export your image.
Adobe Bridge lets you access Lightroom. It allows you to organize your files and view thumbnails, while browsing your collection. To find images later, you can add keywords to them.
Lightroom's free trial version is a good choice if you're just getting started. This provides all the basics. You have two options when you decide to upgrade. Either you can purchase the full version, or you can subscribe.
There are several ways to download Lightroom. Adobe offers the option of purchasing the software directly. Another option is to download the trial and convert it to a full-featured license. Here's how to do that.
-
Download the Lightroom Trial Version
-
Start the program. At the bottom, click "Convert license"
-
Enter your payment information and select the type license you wish (permanent, one year)
-
To finish the process click "Continue".
-
After you convert the trial version into a paid license you can use it until the end.